Flashing STM32F411 BlackPill Development Board using STM32CubeProgrammer
Author: Shafeeque Olassery Kunnikkal | Category: IoT, STM32F411 | Leave a Comment
This article is the final part of our STM32F411 learning series, where we built a demo challenge-response system from scratch. In Part 2, we developed the firmware side of the system using STM32CubeIDE. Now, we’ll complete the process by flashing the compiled binary onto the STM32F411 BlackPill using STM32CubeProgrammer.
If you’re interested in how to debug and bypass this challenge system using JTAG and GDB, revisit Part 1.
I will also be publishing a dedicated OpenOCD tutorial soon — a great next step for experimenting with and analyzing the behavior of your embedded projects.
This guide explains how to flash a binary onto the Adafruit STM32F411 BlackPill development board using STM32CubeProgrammer. It is intended solely for educational purposes, particularly for learning IoT security, hardware interaction, and ethical penetration testing in a controlled environment.
Disclaimer: This material is provided under a Creative Commons license (CC BY-NC-SA 4.0). It comes with no warranty or liability, and the author takes no responsibility for any damage, loss, or unintended consequences resulting from its use. This guide is intended for non-malicious, educational purposes only.
Previous Articles in This Series
- Part 1: 🚀 My First AI-Coauthored Blog with ChatGPT
- Part 2: STM32F411CE Lab 3 – Challenge-Response System (Part 2)
Hardware Setup
- Ensure the BlackPill’s headers are soldered properly.
- Connect the Adafruit BlackPill to your computer using a USB cable.
Flashing Steps
- Start the STM32CubeProgrammer software.
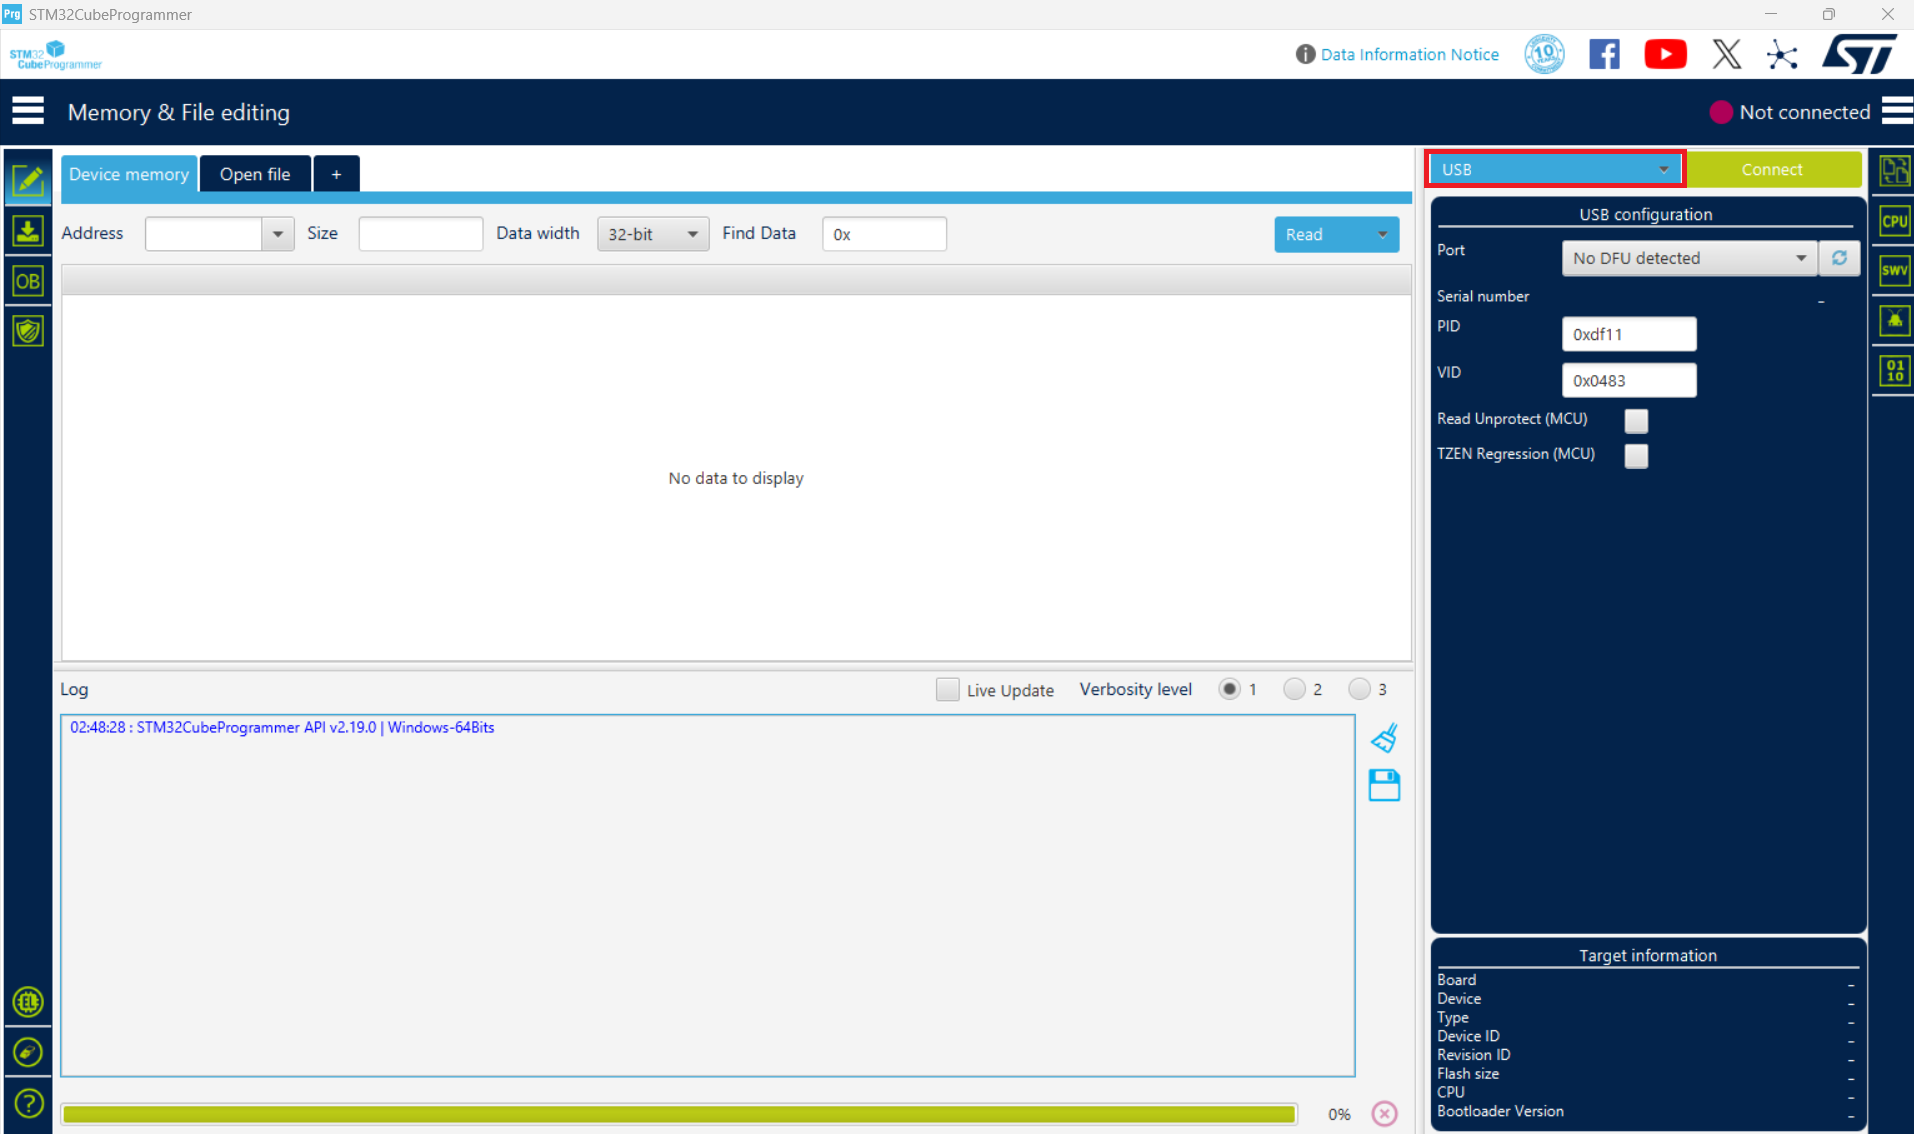
- In STM32CubeProgrammer, select the USB option in the connection interface.
Ensure the correct USB port is selected before proceeding.
- Enable DFU mode on the BlackPill:
- Press and hold the BOOT button.
- Click and release the NRST button.
- Release the BOOT button.
After entering DFU mode, check that the device is recognized under the refreshed USB port.
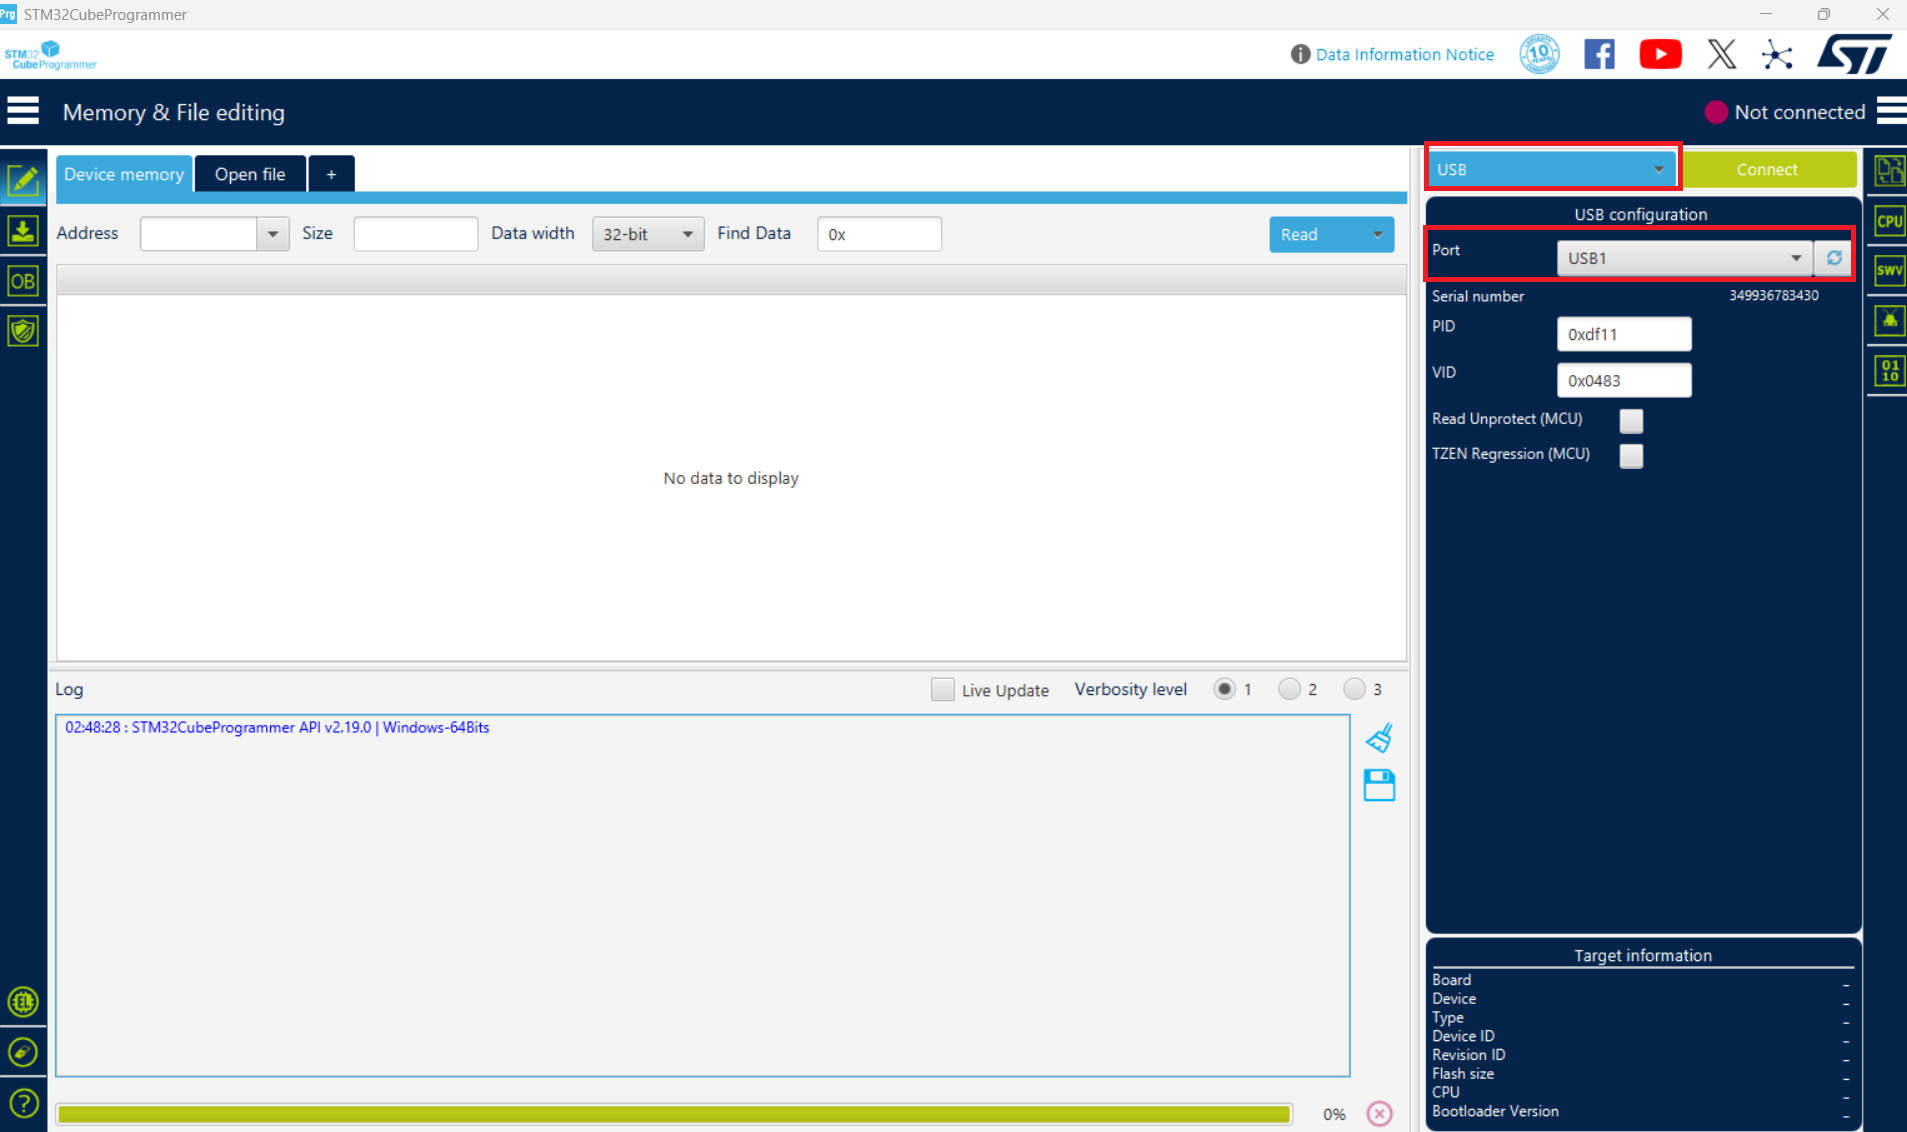
- Refresh the port option in the USB configuration window — the CubeProgrammer should now recognize the BlackPill.
- Press Connect and check the target information displayed at the bottom right corner.
- Click the download button to begin flashing.
- Browse and select your binary file.
- Enable the following options:
- Verify programming
- Run after programming
- Click Start Programming.
The progress bar at the bottom of the window will display the status of erase and programming operations. Observe the log window to confirm successful completion (look for Start operation achieved successfully).
Note: If any image in this document appears unclear, refer to the high-resolution originals or the official STM32CubeProgrammer documentation.